Hello there, first of all thanks for purchasing iPress.
This is a comprehensive and also easy to use help file that lets you setup and uses iPress WordPress theme. iPress is designed really user-friendly and if you have been a WordPress user before, you won’t need to read this help file completely and it’s enough to look at the main titles and read what you need.
Our themes usually get regular updates including bugfixes and improvements. So, don’t forget to follow us on Twitter
Some Important Notes:
- Please take the time to read through the documentation, as many support related questions can be answered simply by re-reading these instructions.
- We will be happy to help you tweak the theme but just for small ones. For more advanced customizations, contact us for paid customizations.
You need to extract the ht-ipress.zip file. The folder name will be “ht-ipress“. You can upload it directly to your host via FTP in /wp-content/themes. Then you can simply activate iPress as you would activate every other WordPress theme at Appearance -> Themes.
Also, you can use “ht-ipress.zip” file in WordPress theme uploader section in order to install the theme via WordPress directly.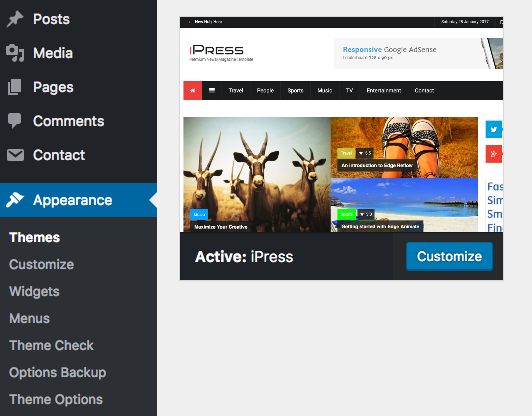
Just after activating the theme you will be redirected to the theme options page where you should save the default settings. As you see a notification message is shown which guide you to install a number of required or recommended plugins. Some of thees plugins have been purchased and embedded inside the theme. You need to follow the notification message and make sure the plugin is activated.

Click on Begin installing plugins to start installing the required plugins. Please activate the plugins after the installation and you’ll be done.
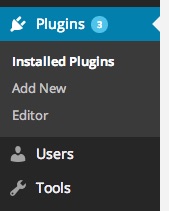
You should see the plugin in your menu
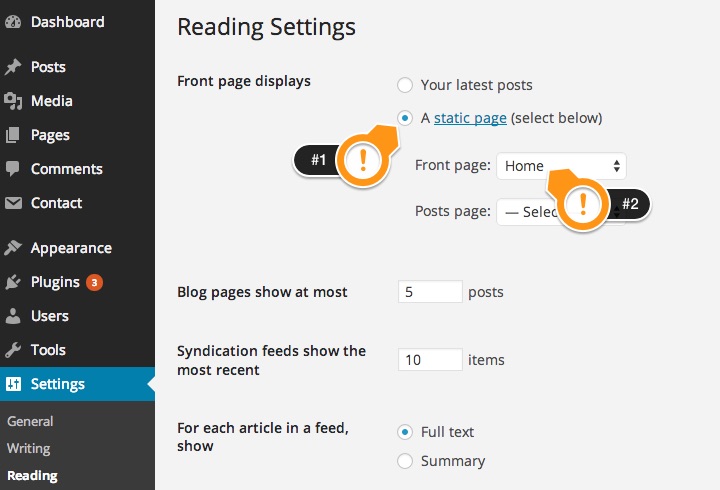
To setup the front page, go to pages > add new and create a page. You can give it a title of “Home”.
Now click “Publish” and go to Settings > Reading, assign the newly created “Home” as static front page.
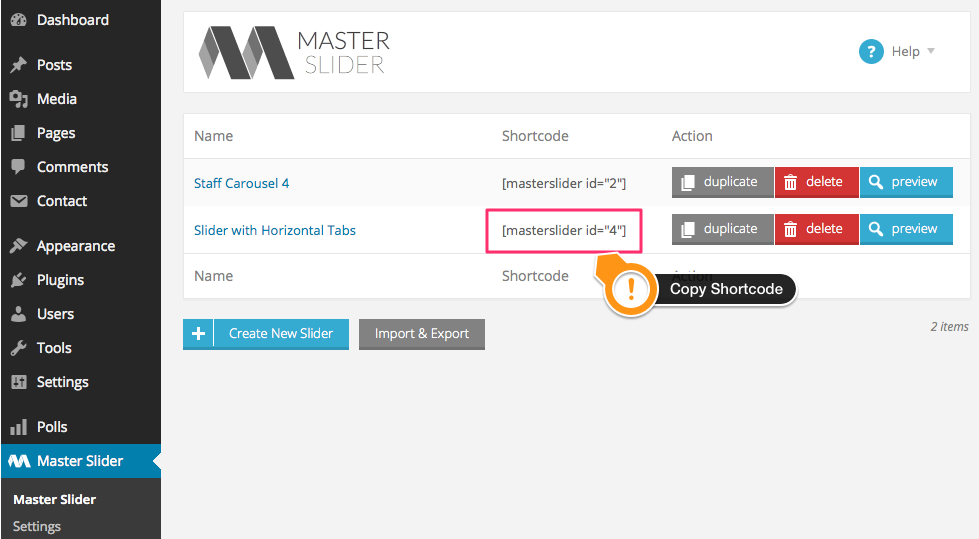
The theme uses Master Slider which is included by default. You just need to install it as explained in previous sections. It’s so straightforward.
To learn how to use the slider, please check the plugin help documentation, which is included in Help folder of this package.
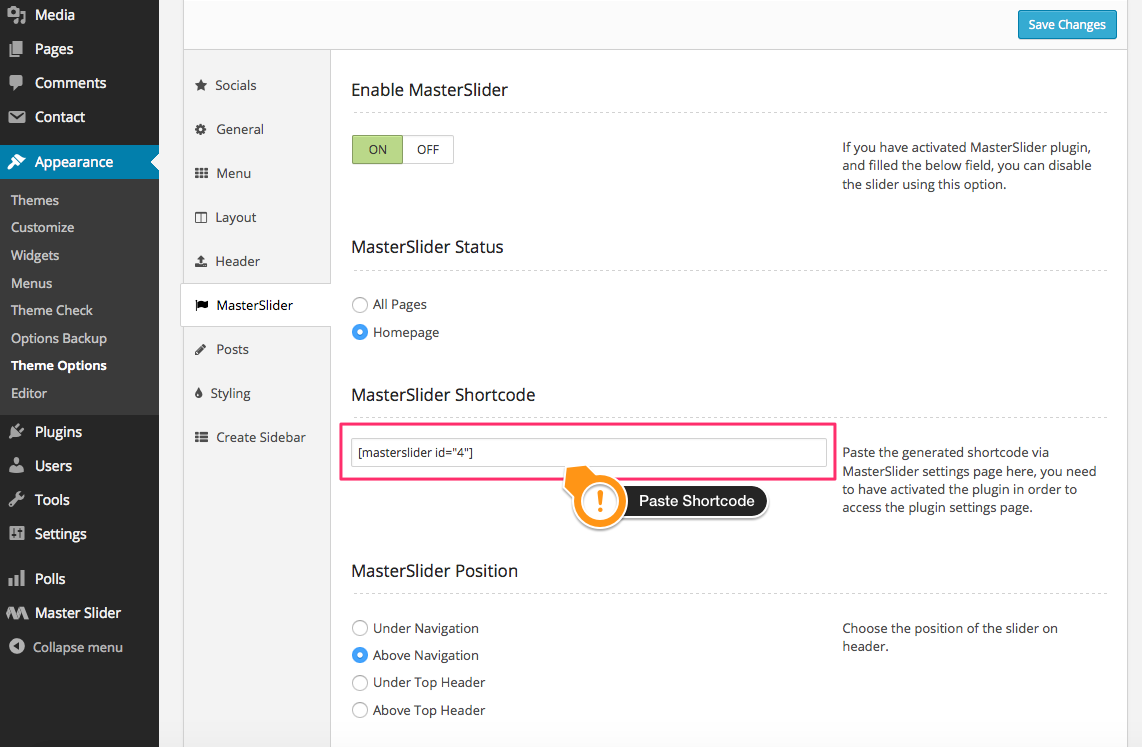
Once you created your slider, paste the shortcode in theme options as shown below.
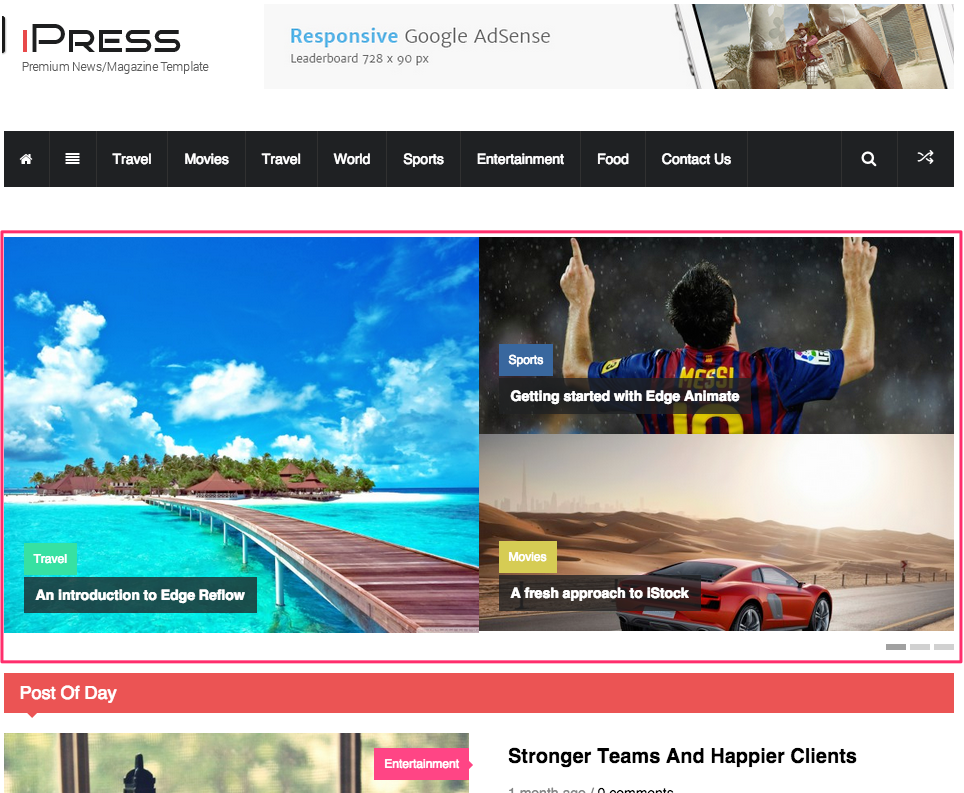
You can assign some of your posts as slideshow of page. Go to posts and open your desired post, then turn on Mark as Featured Posts (Slideshow) under Highthemes Post Options (You must set minimum 3 posts as slideshow item)
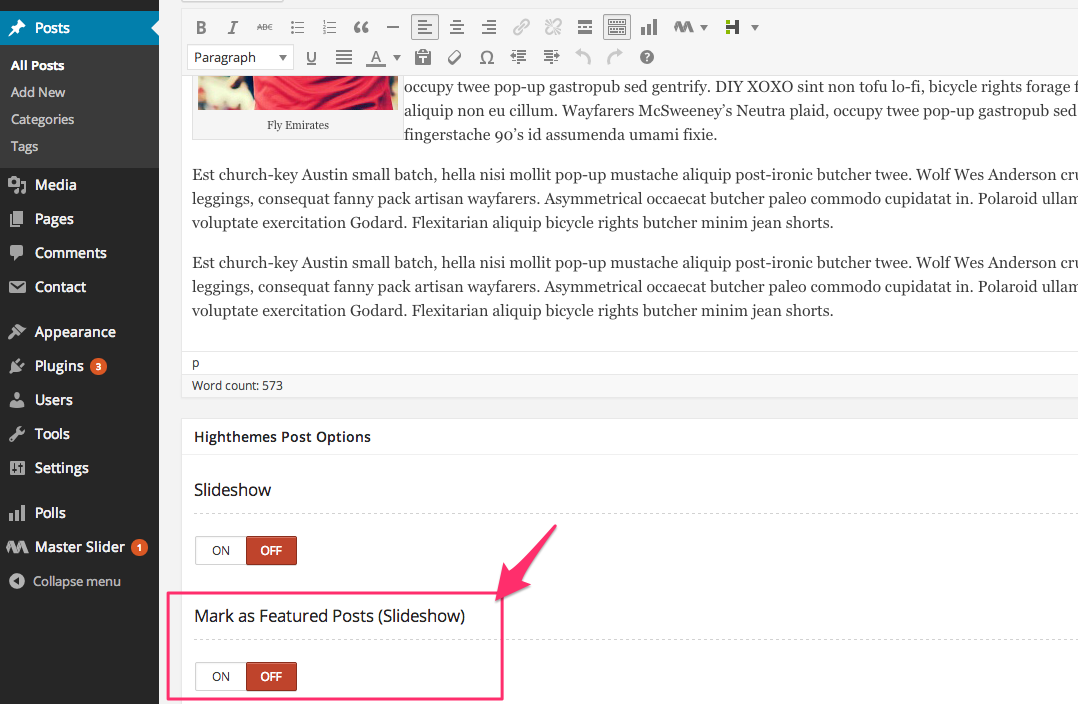
Now to enable the slideshow in your post or page, simpley go to Highthemes Post/page Options then enable Slideshow Option

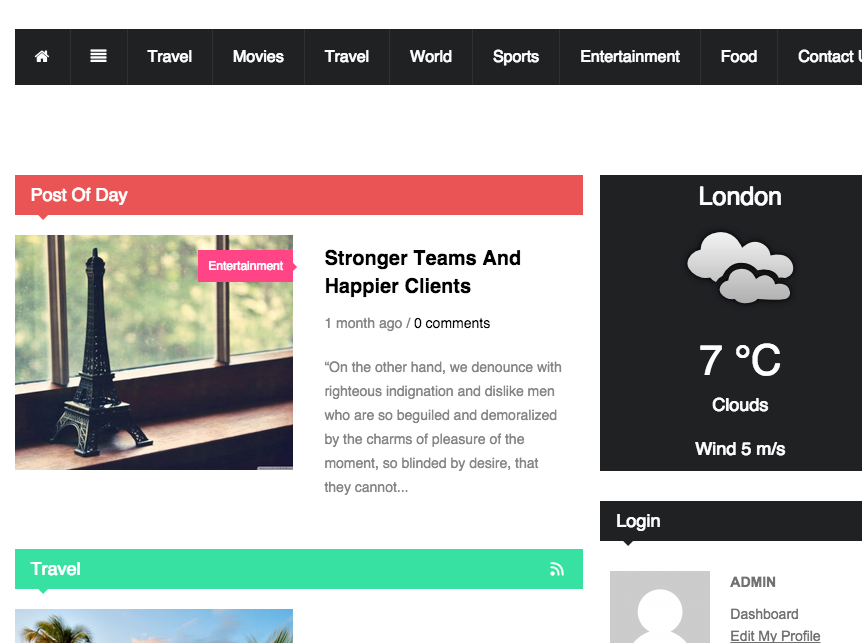
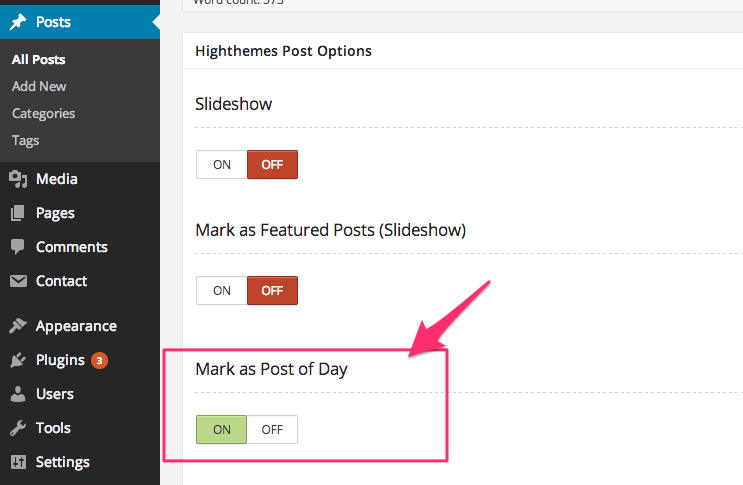
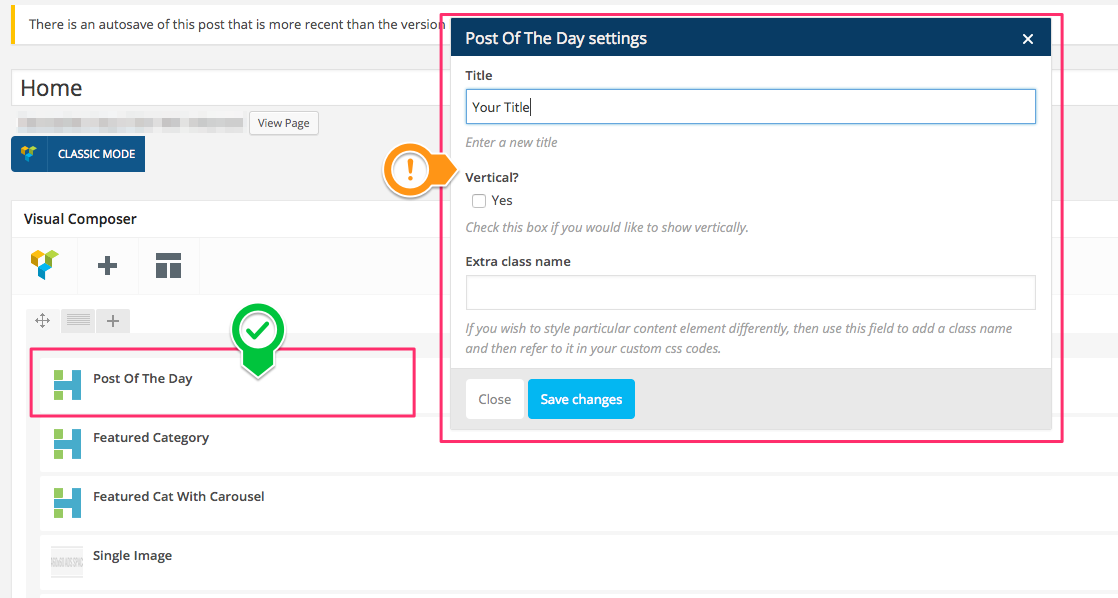
You can mark your dedired posts as “Post Of Day”, so you can display them via Page builder anywhere you like. Edit your desired post and enable Post of Day under Highthemes Post Options
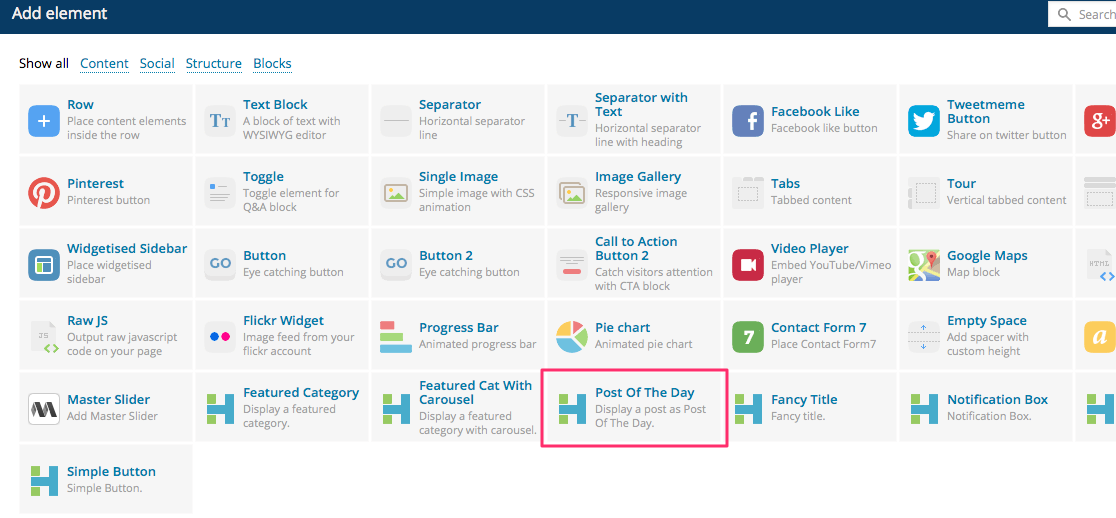
Now go to the page you’re going to show “Post of Day” block, and select the content block from the list as shown below.
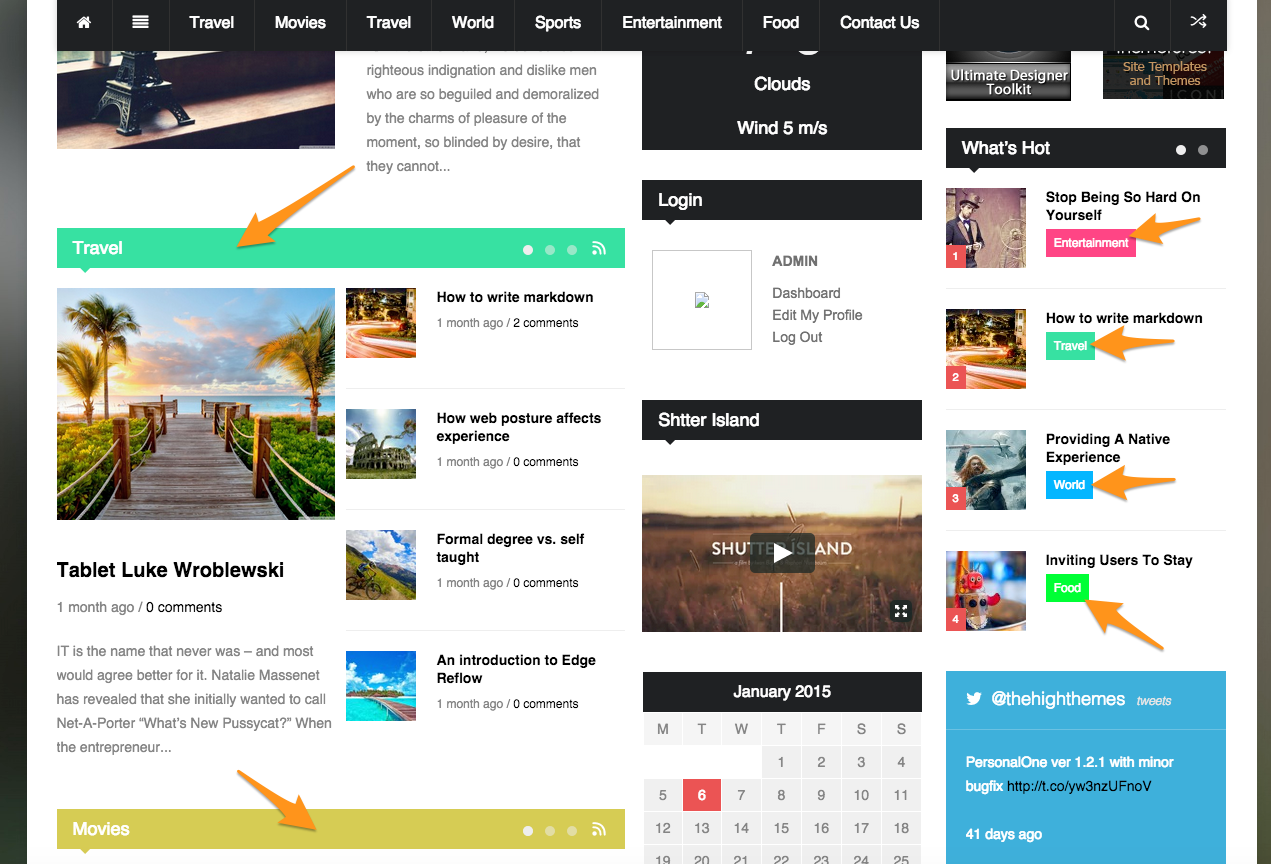
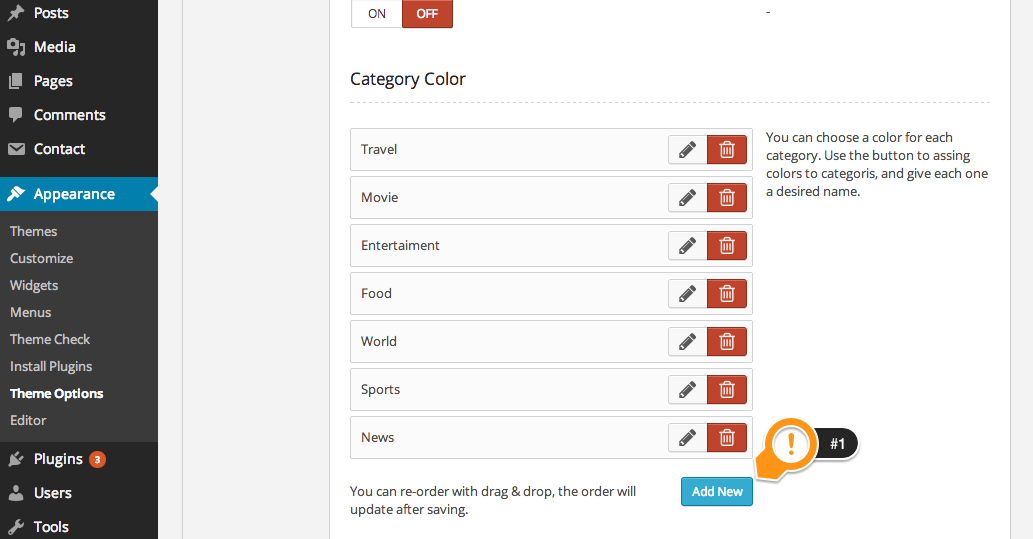
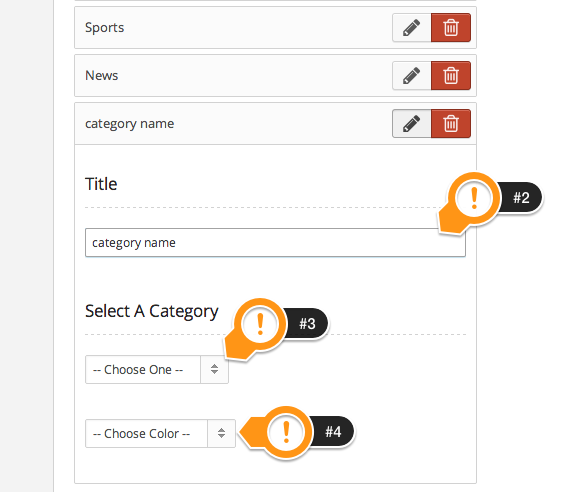
You can set a color for each category, in order to do so, go to Theme options > Styling and follow the steps below.
You must save options after adding a new item
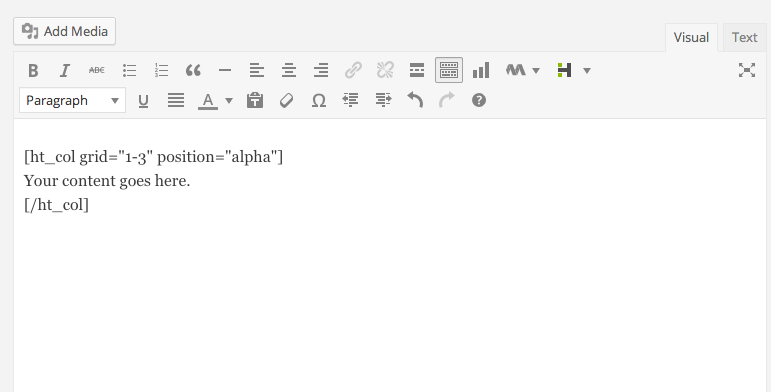
iPress comes with a lot of shortcodes with a visual interface. There’s an icon on visual text editor of WordPress which you need to click on in order to open the shortcode manager.
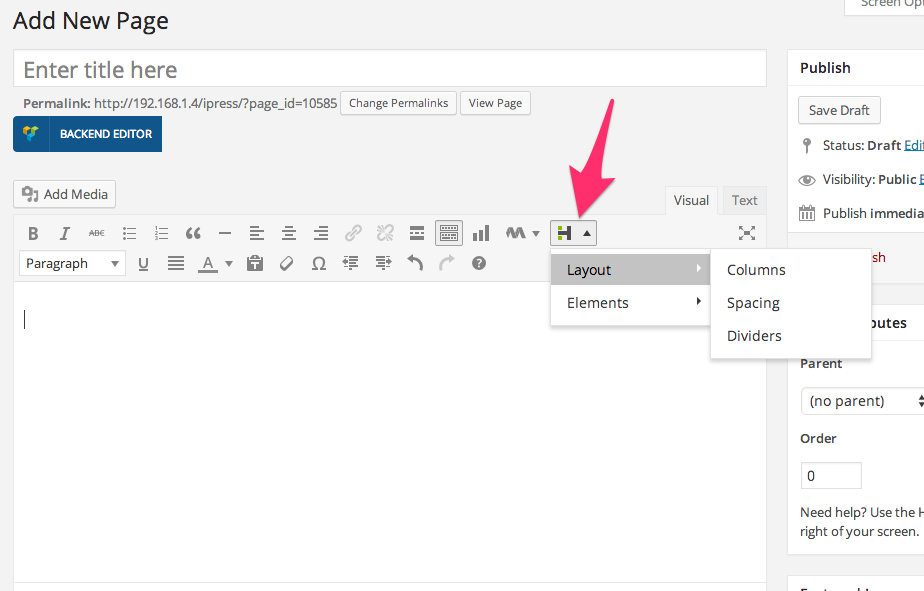
By selecting each shortcode from the list, the shortcode with your values will be inserted into the content area.
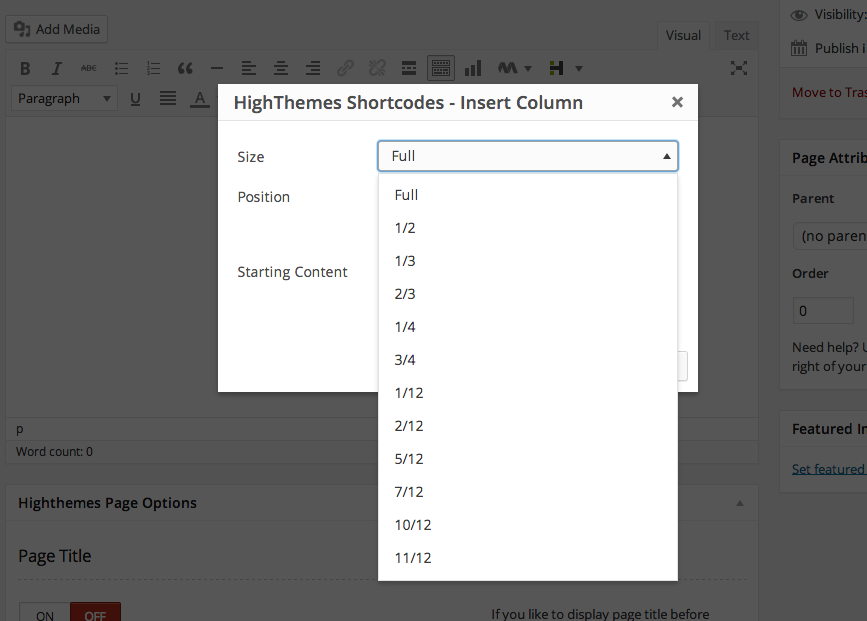
By selecting each shortcode from the list, the shortcode with your values will be inserted into the content area.
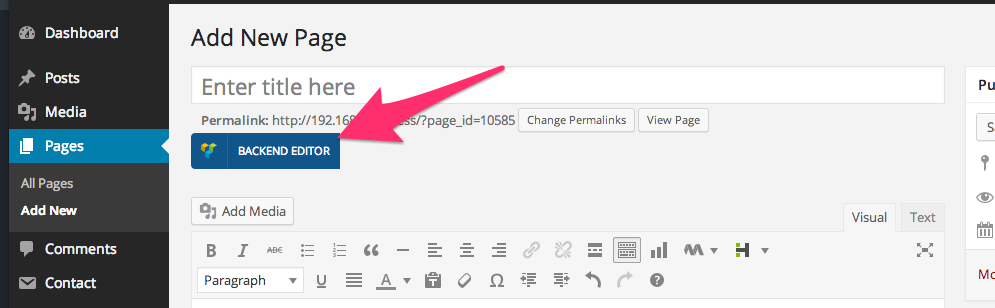
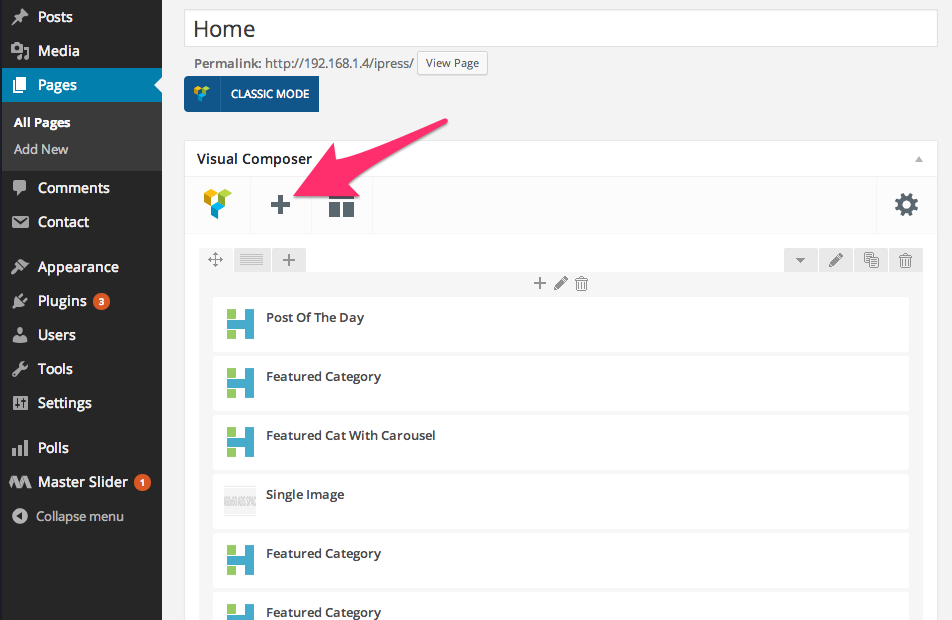
iPress comes with Visual Composer Page builder with a number of custom shortcode blocks, you can create/manage your magazine page using the page builder easily. All you need is to install the page bulider as explained in previous sections, then you will find it when you create a page.

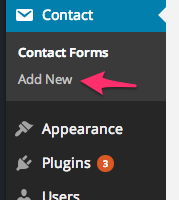
To Setup contact form you need to install Contact Form 7 as explained in previous sections then go to Contacts > Add New
If you want to have the similar layout of our demo, you can use the following structure for you contact form setup.
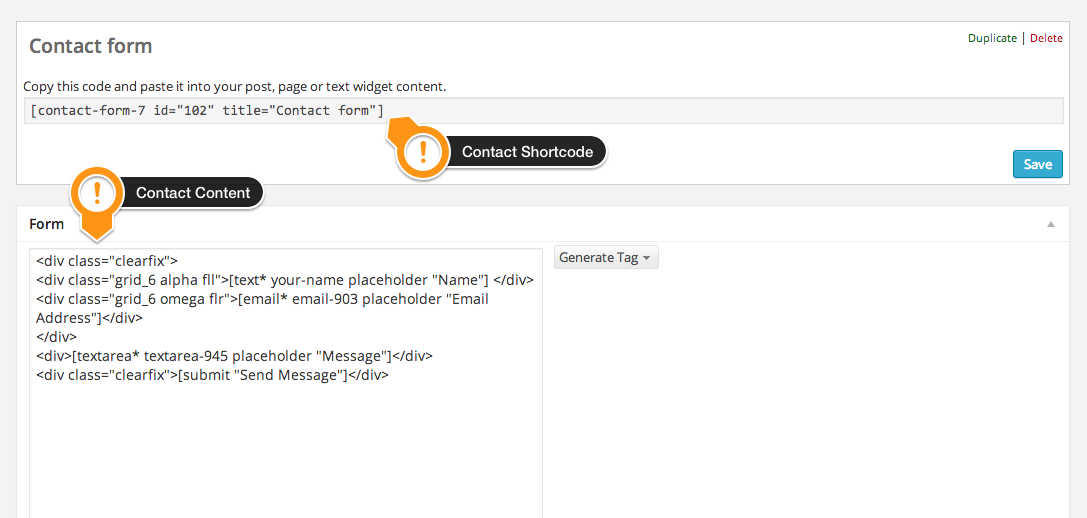
[text* your-name placeholder “Name”]
[email* email-903 placeholder “Email Address”]
[textarea* textarea-945 placeholder “Message”]
[submit “Send Message”]
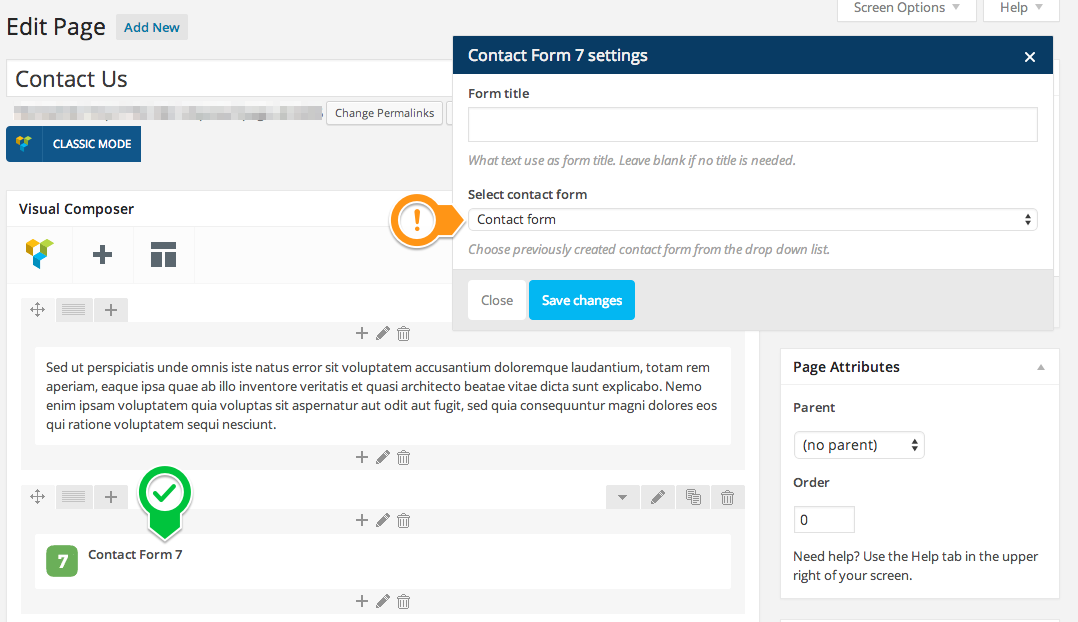
Now, if you’re using Page builder, you can find it unde Contact form 7 shortcode, and if you want to use the shortcode directly, just paste it right into your editor.

Navigate to WordPress admin dashboard and then go to Appearance -> Theme Options then go to Styling tab.

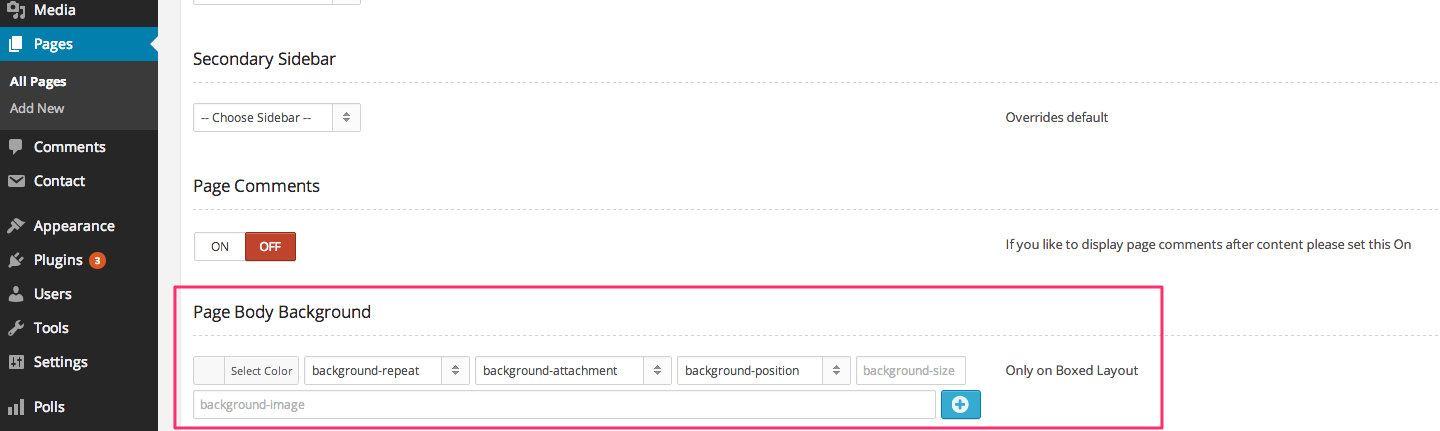
If you want to set color or background for a Page/Post, Open Page/Post under Hightheme Page/Post Options > Page/Post body background
To install demo data,
1. First, make sure you’ve activated iPress
2. Install required plugins
3. Navigate to Tools > Import. Click on WordPress from the given list. If you haven’t installed the WordPress Importer plugin, a window will be shown directing you to install it. Now you will be redirected to page where you can choose the demo data file. Choose it from the downloaded package under Demo XML and click “Upload File and Import”. If you’ve check “download and import file attachments”, it will take a few minutes to import the data.
4. Go to settings > Reading and set “Home” as static front page
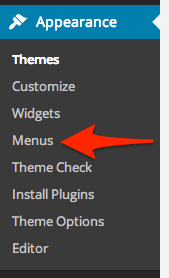
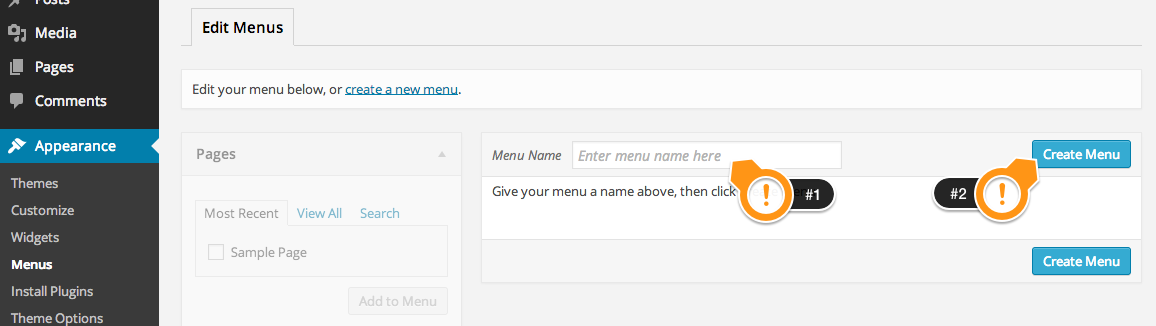
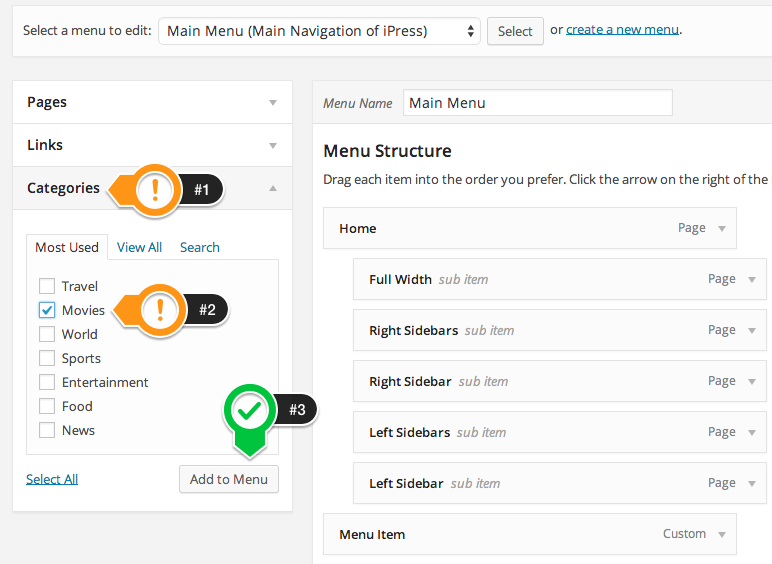
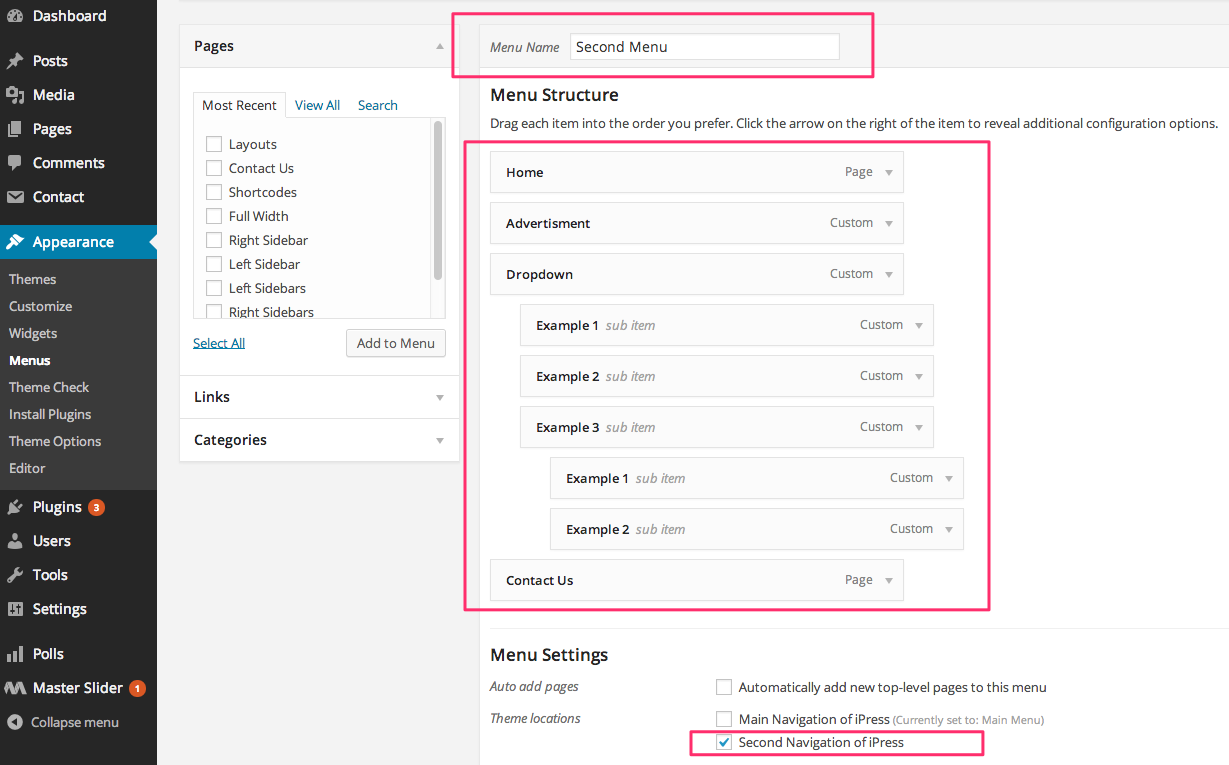
5. Go to appearance > menus > and assign Main Menu to primary navigation of iPress
To Import Option Backup,
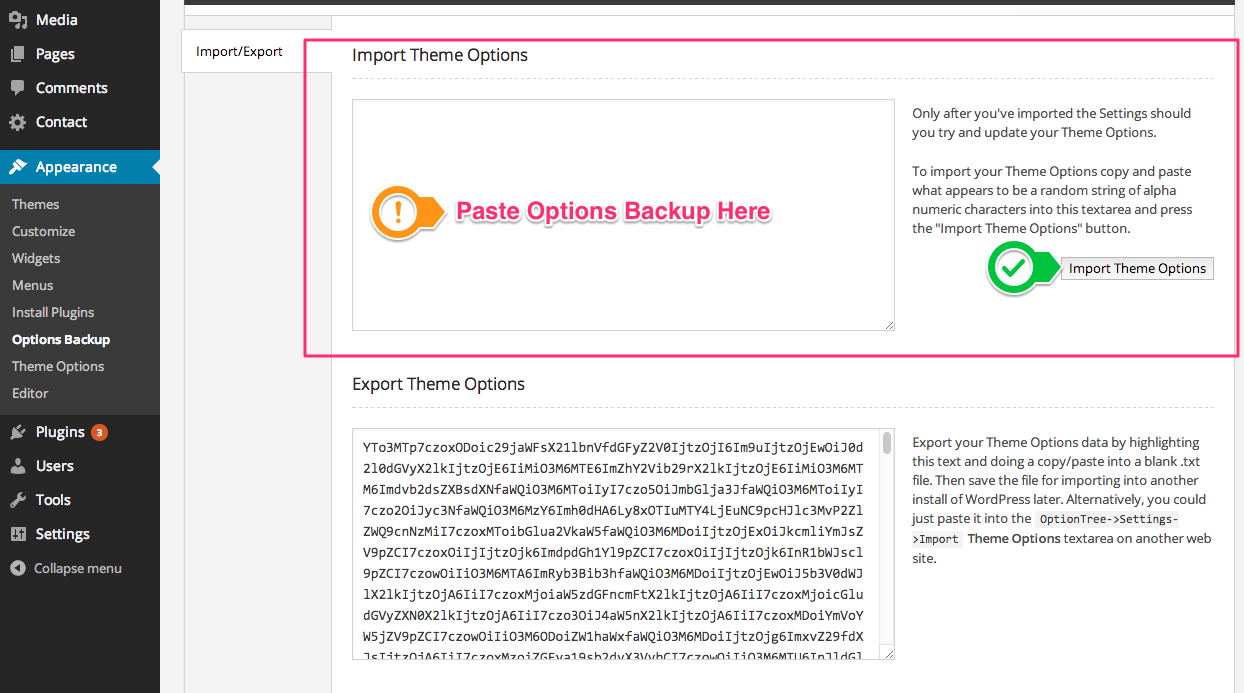
3. Navigate to Appearance > Options Backup, then Open Demo Data > Theme_options_backup.txt from package and copy/past all content of them on Import Theme Options. sollowing below image